

About 5 years ago my dad started his own business which he ran out of the house. I believe it was one of the most frustrating years of his life.
My dad is chock-full of business savvy and had the right skill set, network and experience to be successful in his endeavor. But, without a secretary, he ran into every organizational and technical issue possible.
After buying a supposedly top-of-the line printer/scanner/copier, he was often confounded at the rate he would go through un-godly expensive ink. Then there was the daily ‘feed tray errors’, ‘connectivity issues’, and every other sort of technical or mechanical frustration that prevented him from getting actual work done.
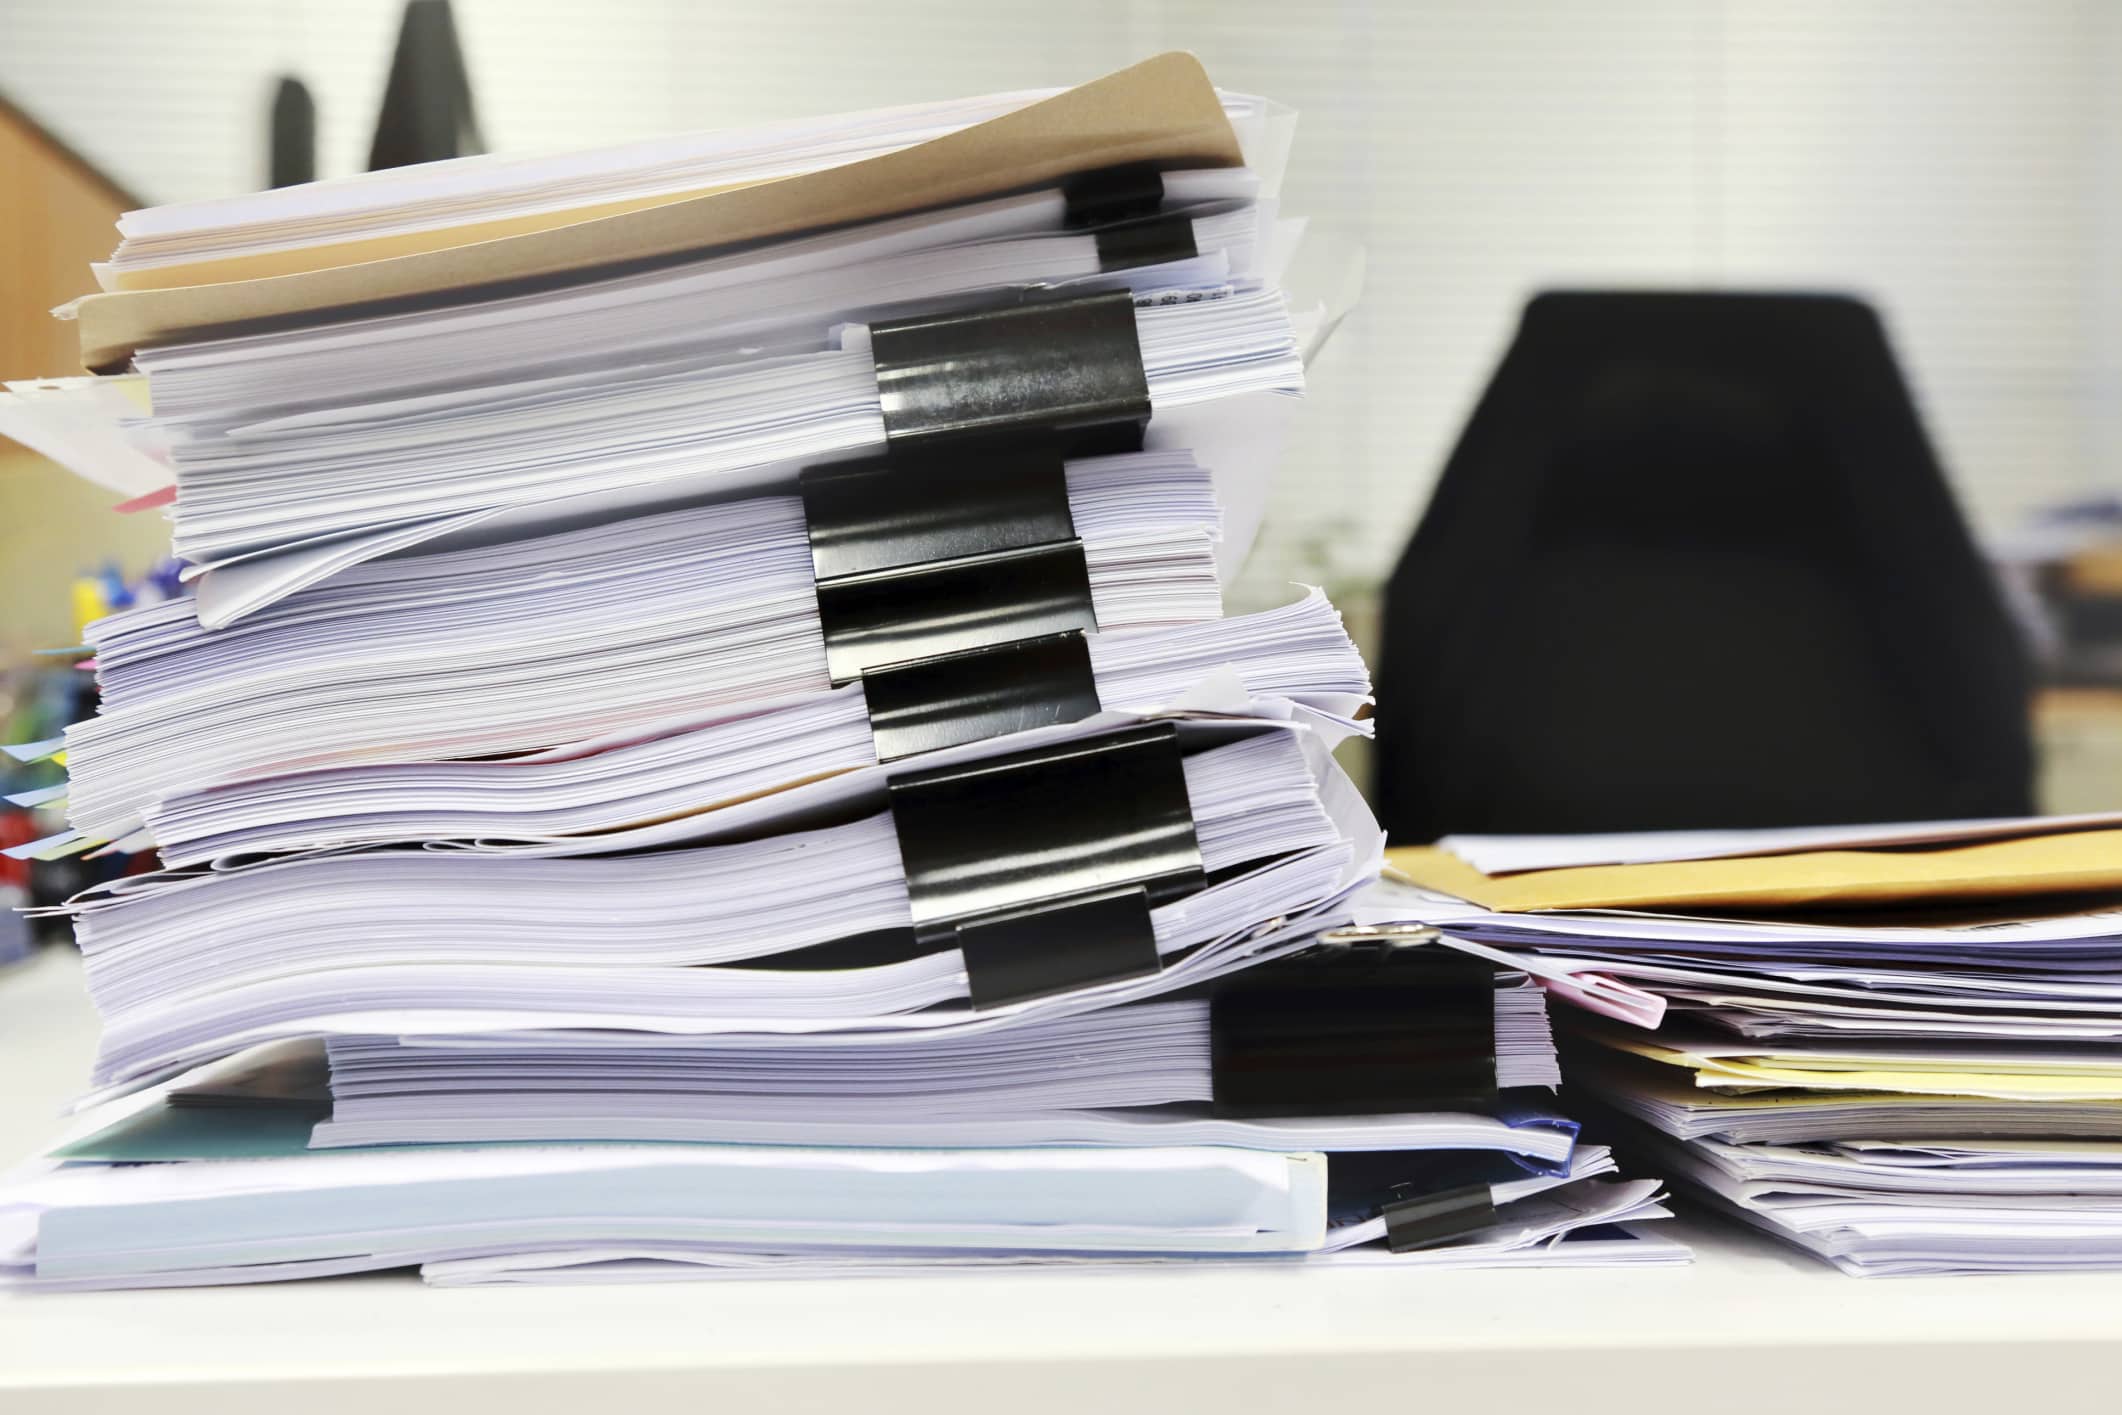
Next, the paper was piling up… quickly. In fact, there is still about a tree’s worth of documents hidden away in the office closet, never to be seen or used again.
If I had a time machine, I would go back and set up a system for my dad that would have saved him hours of weekly frustration that come from swimming in a sea of paper.
I’d start by getting him the right software and hardware he would need to go paperless.
He would resist at first. Saying, “I’ll never find the damn document when I need it, Zack.”
I’d let him curse and doubt me while I worked my magic. He’d later buy me a trip to Hawaii with all of the extra money his business was making because he wasn’t fumbling around with paperwork.
The hardware is a tried and trued scanner called ScanSnap.* Even productivity guru David Allen extols the virtue of this well built machine. The tool just works and is worth the higher price tag. I’d buy him the iX500.
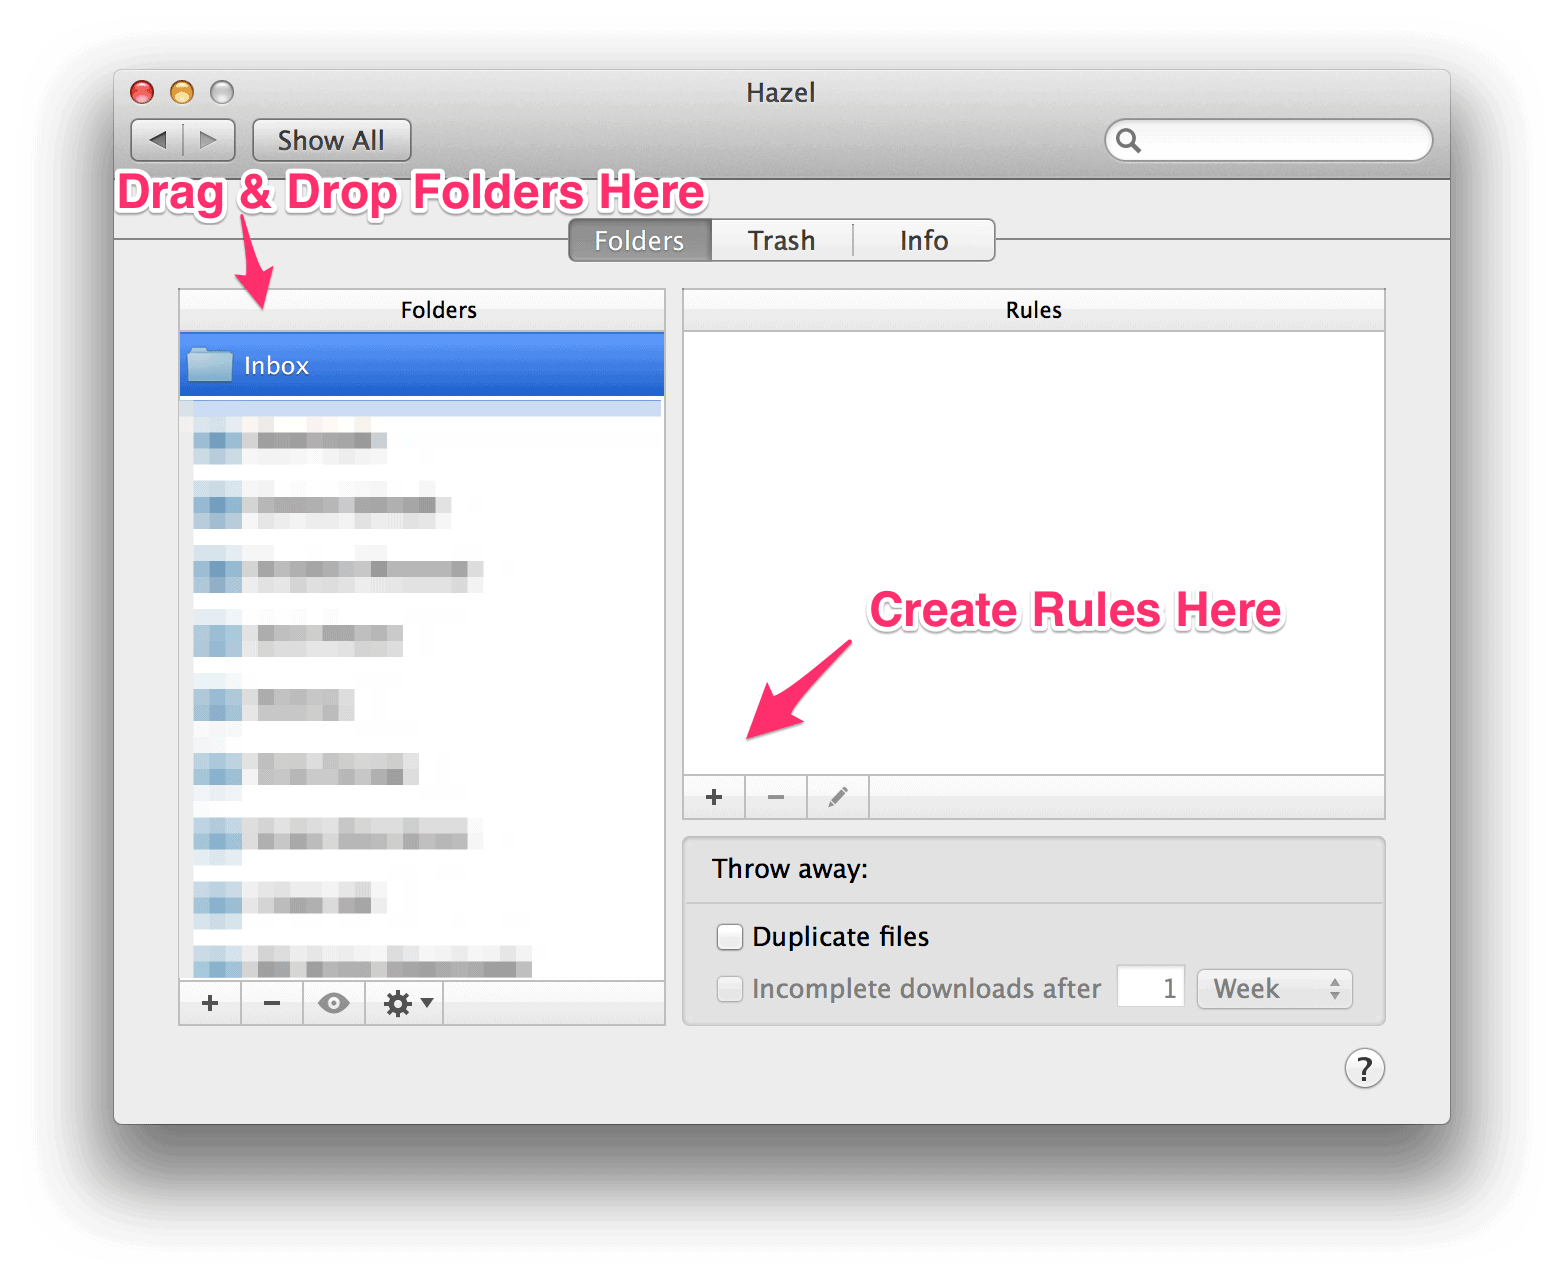
Next I would download Hazel to his Mac desktop computer. Hazel is a program that automatically organizes your files according to rules you create.
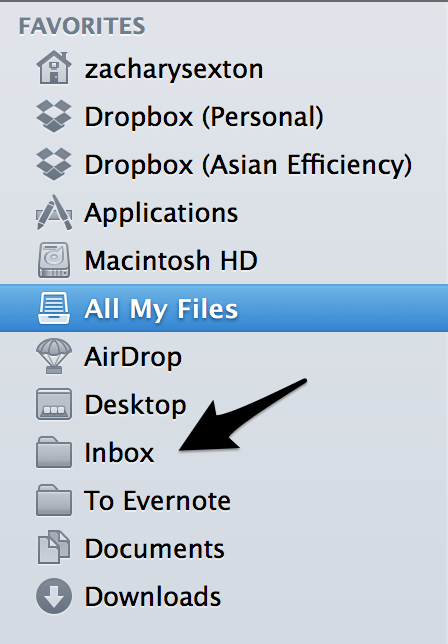
I would then create a folder on his desktop called Inbox.

I would also drop the folder onto his Finder’s favorites so he would always have easy access to the folder.
Start Small
I’d start by scanning a few of his expenses so he could get comfortable with the computer sorcery I was conjuring.
Let’s start with his cell phone bill. These documents were mailed to him monthly. He would pile them. My mom might file them and they would add to the general disarray of his otherwise very nice home office (why yes, this is a Herman Miller chair behind those piles of paper).
Set Up Your Sub-Folders
The first step would be creating another folder within the Inbox called Expenses. Then I’d create one more folder named Cell Phone and nest that within the Expense folder.
We’re 3 folders deep. I probably wouldn’t nest too much further than that. At the end of the year, I’d suggest he delete all of the old bills. However, if he was feeling wary of that, I’d create one more folder for the year.
It should look something like this.

Nothing too fancy. No computer science degree needed yet.
The next step would be to scan in the last few months of his cell phone bills and throw them in the recycle. Yay! Less paper!
Set Up Your Rules
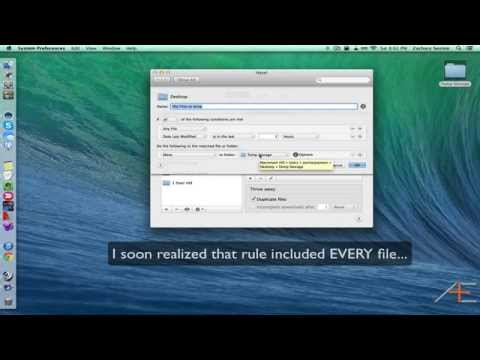
I would then be ready to start creating rules in Hazel so the files would be nicely named and sorted for him. I’d fire up Hazel, grab the Inbox folder and drop it into Hazel’s Folder section.
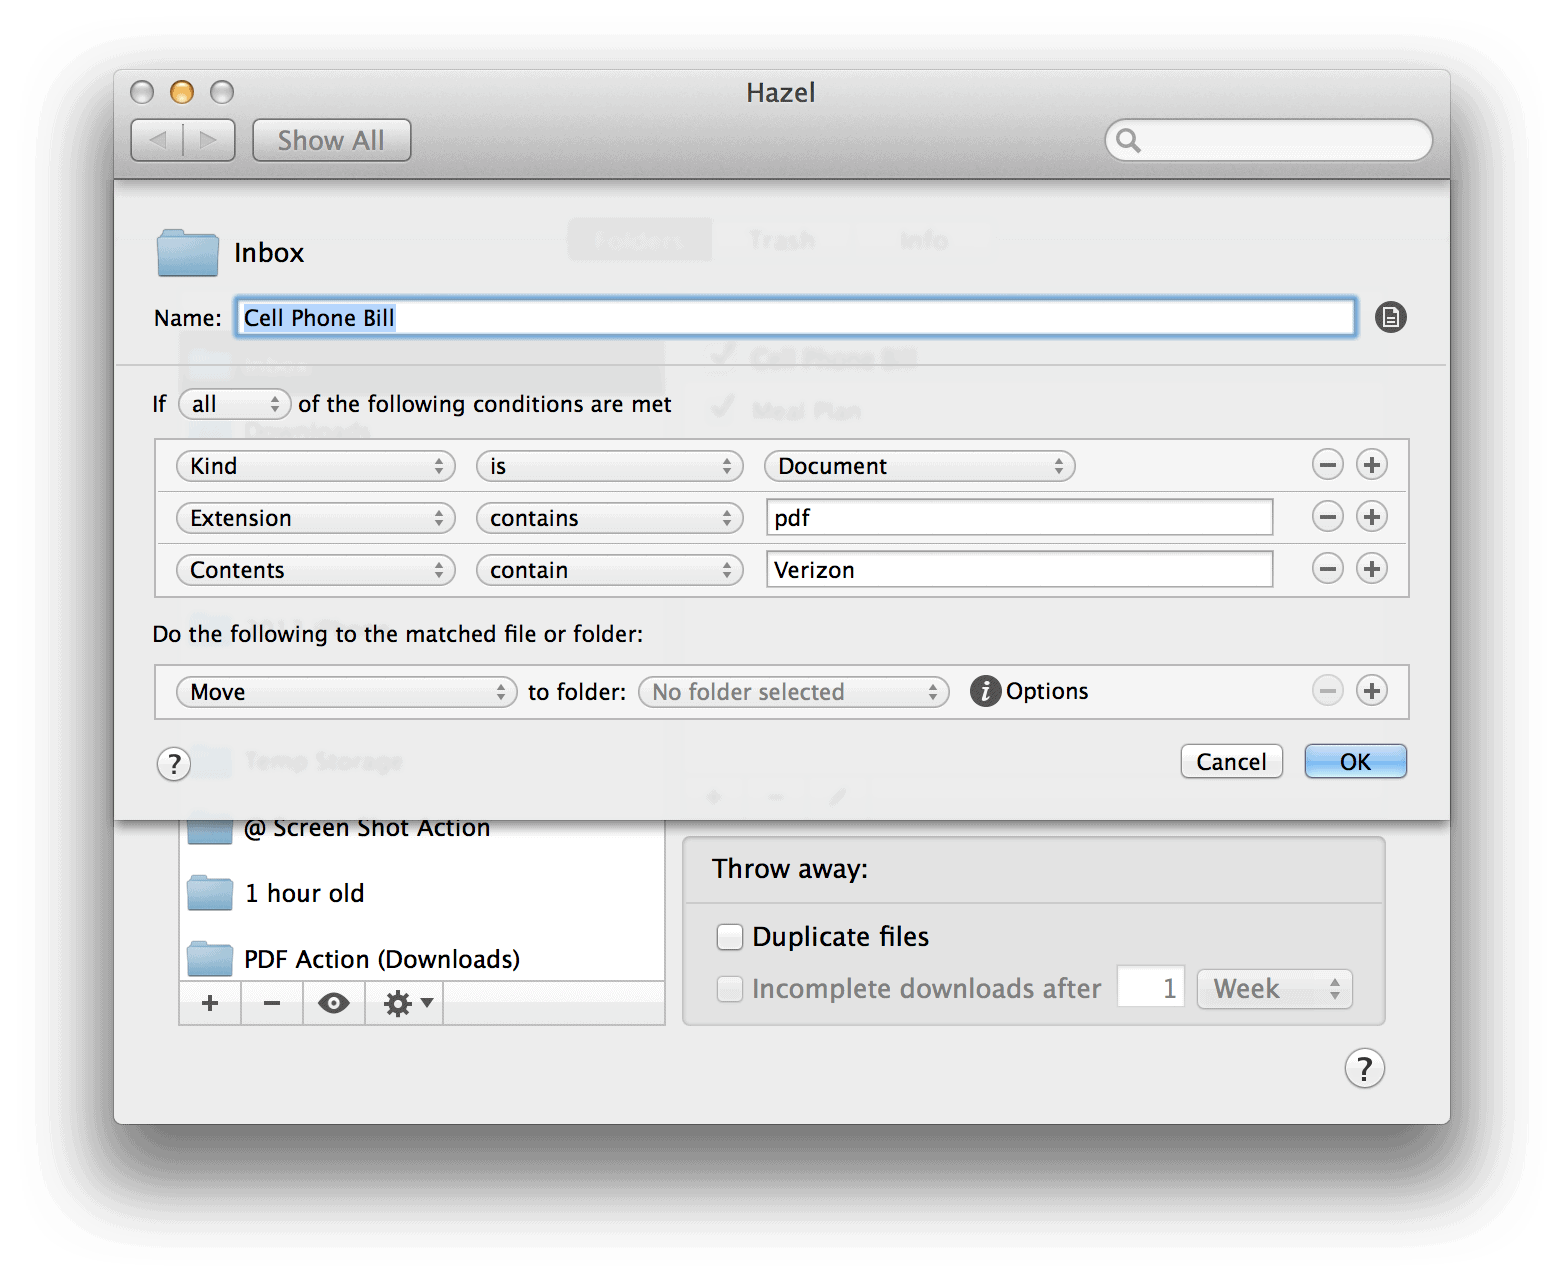
With the folder still selected, I’d press the plus sign to create my first rule. I’d name the rule something both of us would recognize… like Cell Phone Bill.
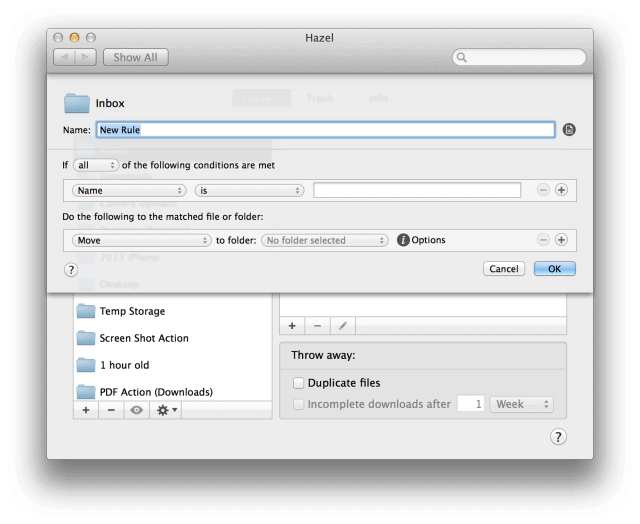
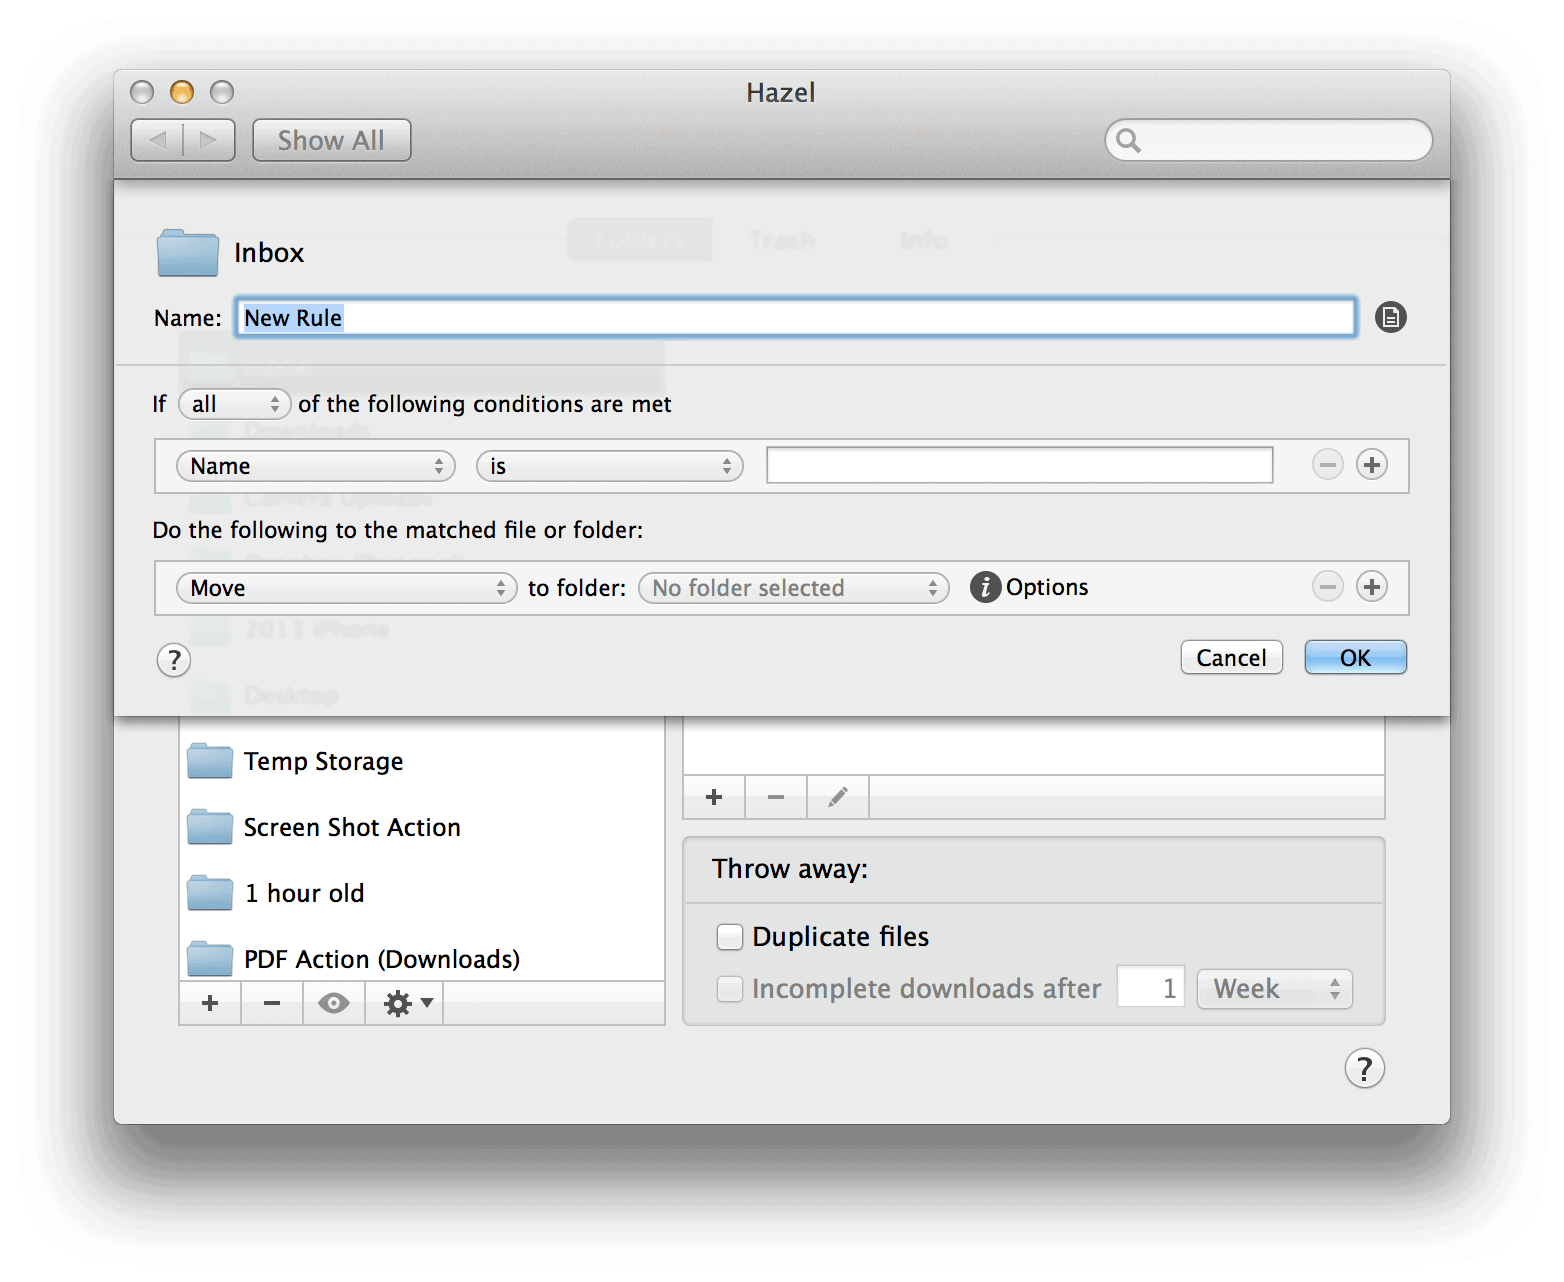
Then I have to let Hazel know what his cell phone bill looks like based on the conditions of the document. The first condition would be that it is a document (as opposed to an image, movie or another folder). Then I’d tell Hazel what kind of document the cell phone bill is. I would do that by adding the condition Extension + contains + pdf. Finally, I’d let Hazel read the document and look out for key words. For the cell phone bill, I would add the condition Contents + contains + Verizon (the name of his cell phone carrier).

Now that Hazel knows what to look out for, I would give her instructions. The first thing I would do is re-name the document to something clean and easy to read. I like the naming convention Month-Year_Verizon.pdf.
So I’d set it to rename by Date Added. Click the downward facing triangle to Edit Date Pattern.
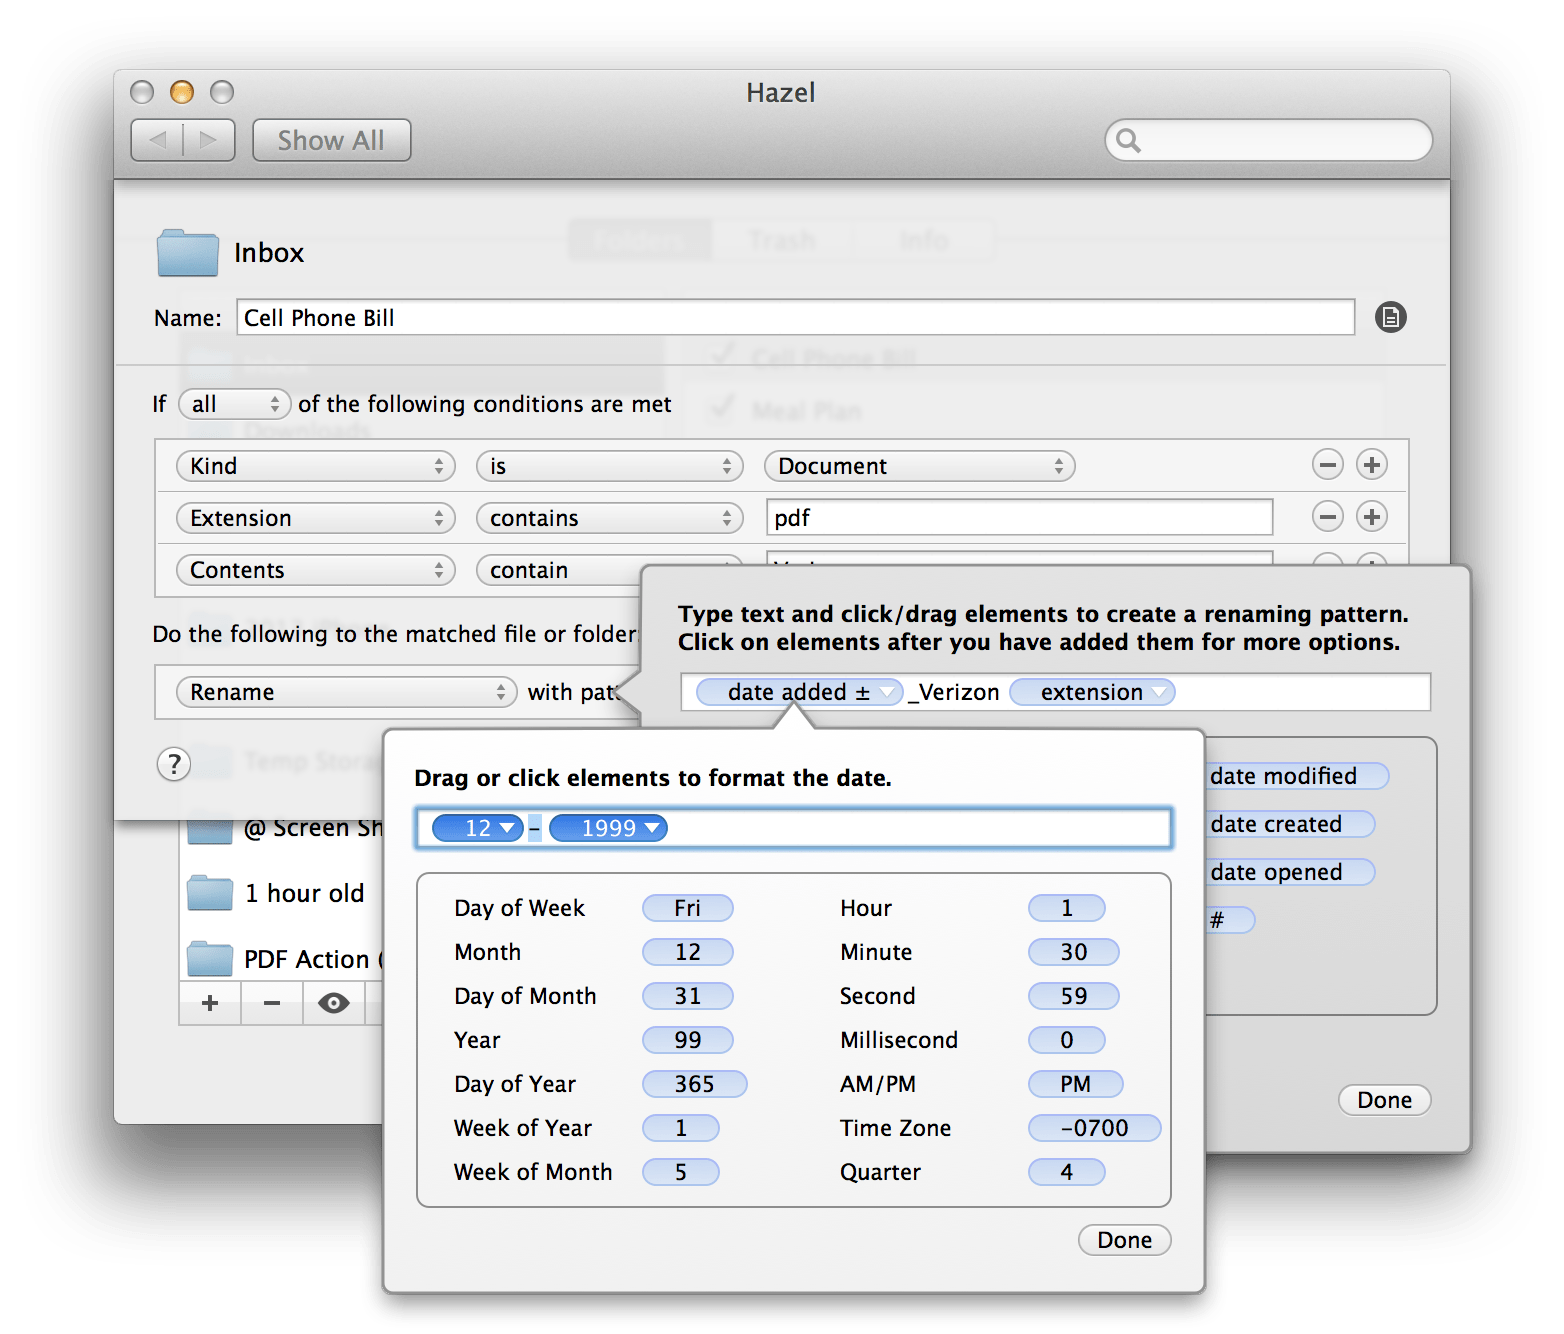
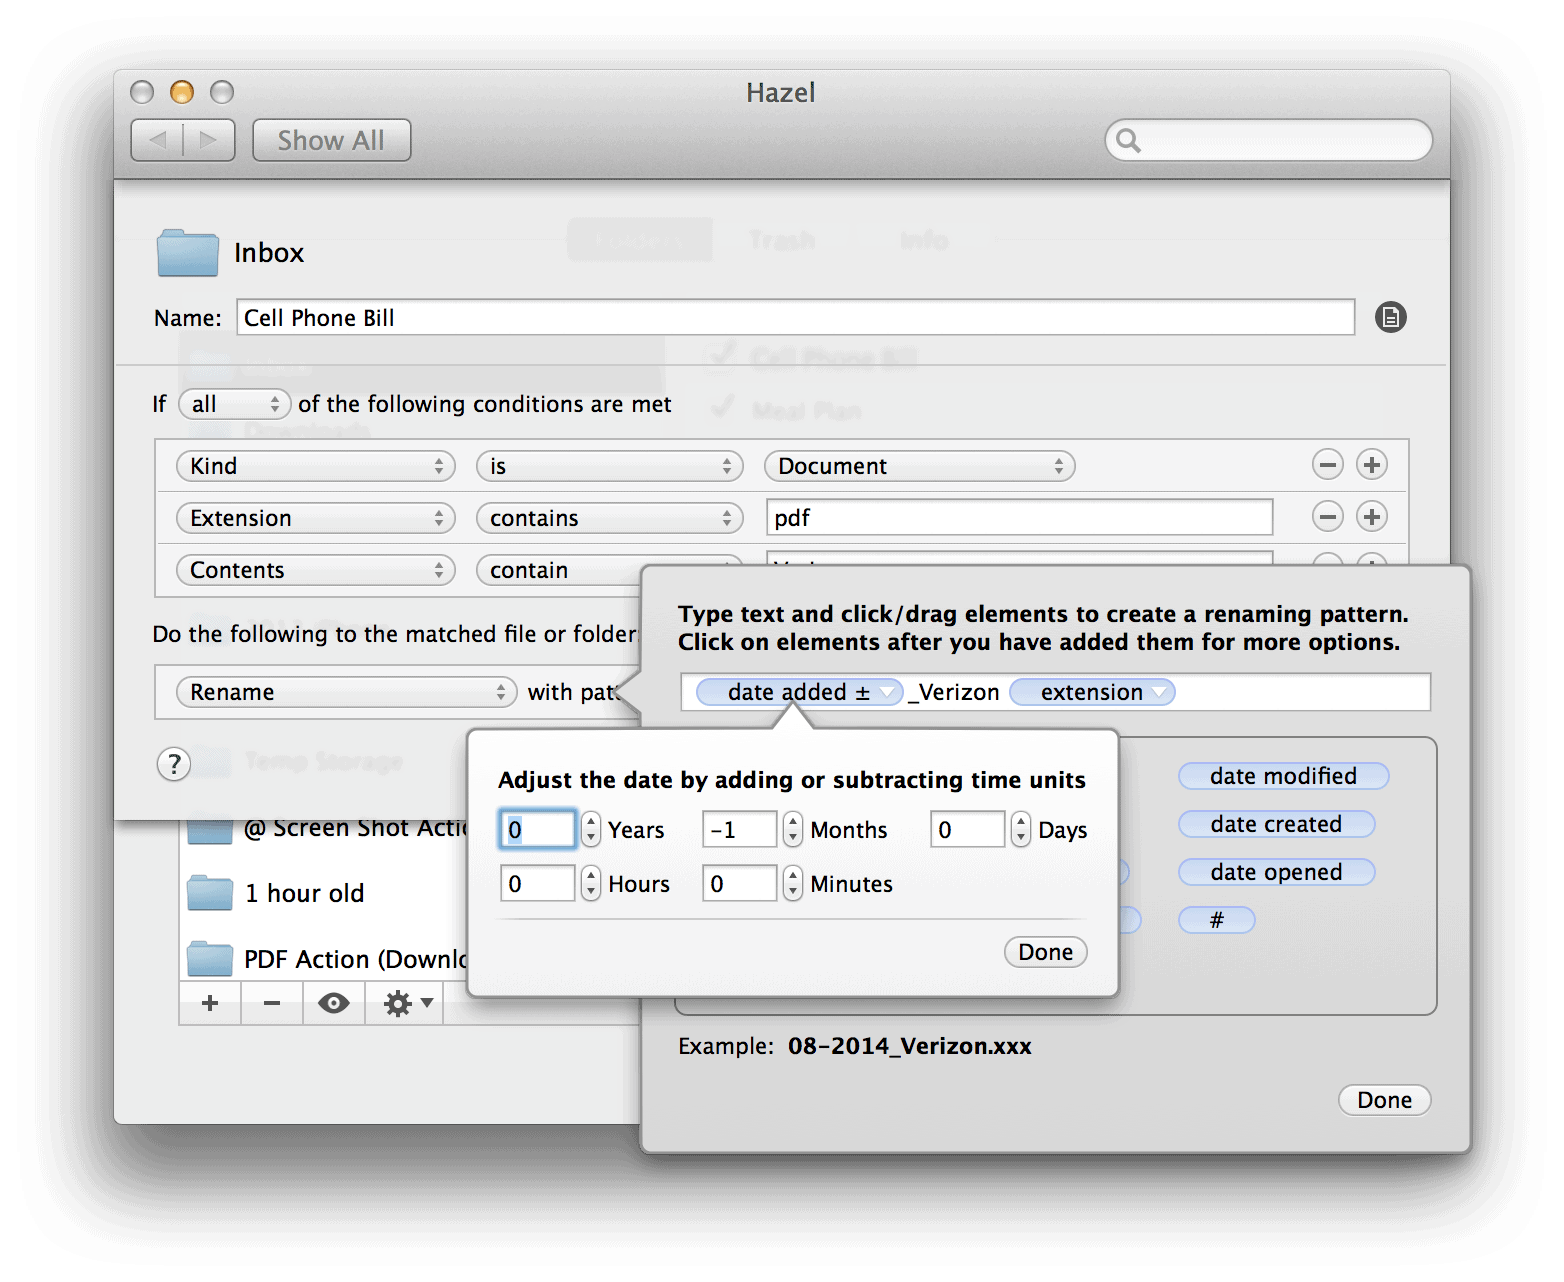
I also know the bill will likely be scanned the month after the charges so I’d Adjust the Date by clicking the same downward triangle on Date Added element to subtract one month.
Where Should The Document Go?
So the document now has a nice easy-to-read name. All that is left to do is to move the document to it’s own folder where it can be with all of his other document friends. To do that, I have one last chore for Hazel.
I tell Hazel to move the re-named Cell Phone document to the Cell Phone folder. Move + to folder + Cell Phone folder

And that’s it! I would press OK at the bottom right hand corner.
Did It Work?
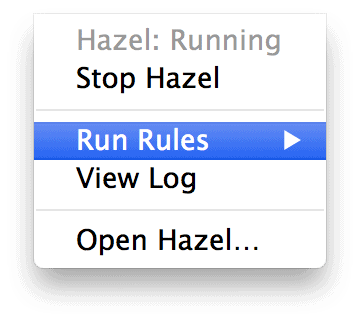
Then I would click the Hazel icon on the top of my desktop and run the Hazel rule to see if it worked.
If nothing happens, I’d look for MY mistake. Because Hazel always does exactly what I tell her to do. For me, the mistake is often a misspelled word.
Rinse and Repeat
I’d then start to organize some of his businesses’ more critical documents. Using the exact same methods.
The only thing that would change would be the key words Hazel is looking for in Contents + contains + [key word], how it is renamed and which folder the document is moved to.
After two or three document rules, I’d let him start to add his own and watch him go paperless… automagically.
P.S. If you want to see me geeking out while building my own Hazel document automation system, watch the video below to see Hazel in action:
*P.P.S. If you really want to become a master at ScanSnap and Hazel, you will want to visit Asian Efficiency friend Brooks Duncan’s site DocumentSnap.com.
P.P.P.S. You can get a simple OCR scanner on your phone. It won’t be as fast, but it is a heck of a lot cheaper. I’d recommend ScanBot for iPhone users.