
Don’t worry if it is time to start over. There are many legitimate reasons to reformat your Mac. Perhaps you have a new Mac (like a new Apple silicon based Mac), and it is time to pass on your old computer to a new owner. If you are ready to sell, trade, or give away your Mac, then it is time to reformat. Before you say goodbye to one of your Apple devices, you need to factory reset your machine, erase all your personal data, and reinstall a fresh copy of the operating system.
This erase process requires some careful planning to protect your data, but we have prepared a simple to follow checklist that will walk you through the entire process.
Quick Summary To Erase And Reinstall macOS
-
Reformatting your Mac requires careful planning.
-
Make a Time Machine backup of your files, apps, and settings on an external hard drive or save your data in Dropbox or iCloud.
-
Restore your factory settings and reinstall macOS
-
Download the checklist in PDF format.
How to Factory Reset Your MacBook Before Selling or Giving it Away
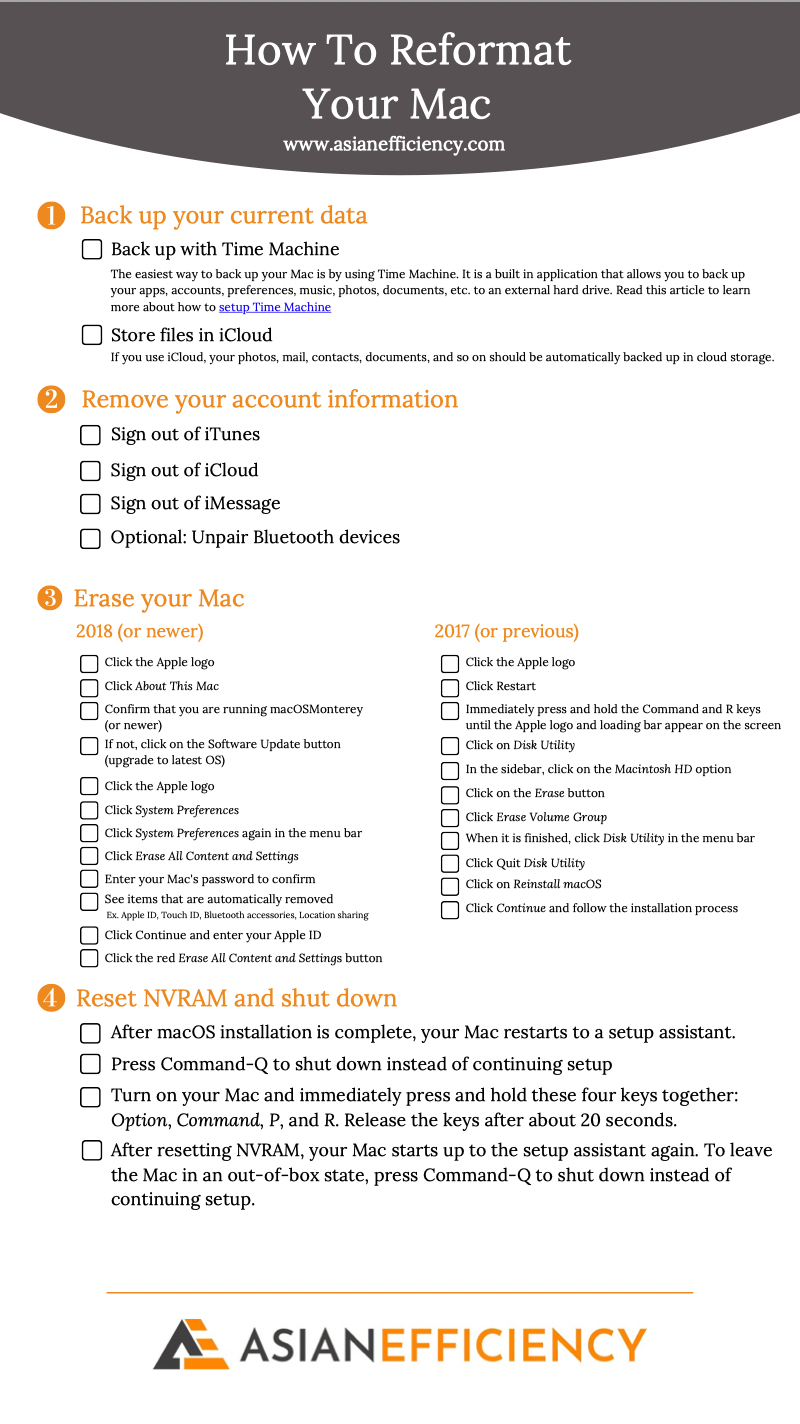
If you are planning to reformat your Mac, we recommend you save / bookmark this post. We also have a checklist for you to use that you can download here. Just print it out, tick each box and you’re good to go.
Recommendations:
Planning
One thing to keep in mind is that reformatting is something you have to carefully plan. You might accidentally erase very valuable files like pictures and videos, if you don’t plan your reformat. Most of your time will be spent downloading files for preparation and transferring files to and from your external hard drive. The rest of the process fairly quick.
The restoration will consist mostly of reinstalling applications and transferring files from the external drive to your Mac. This should take no more than a couple of hours (depending how much data you have to transfer). We recommend you set aside an afternoon to fully restore your Mac.
Now let’s go over the process step-by-step.
1. Backup Your Current Data
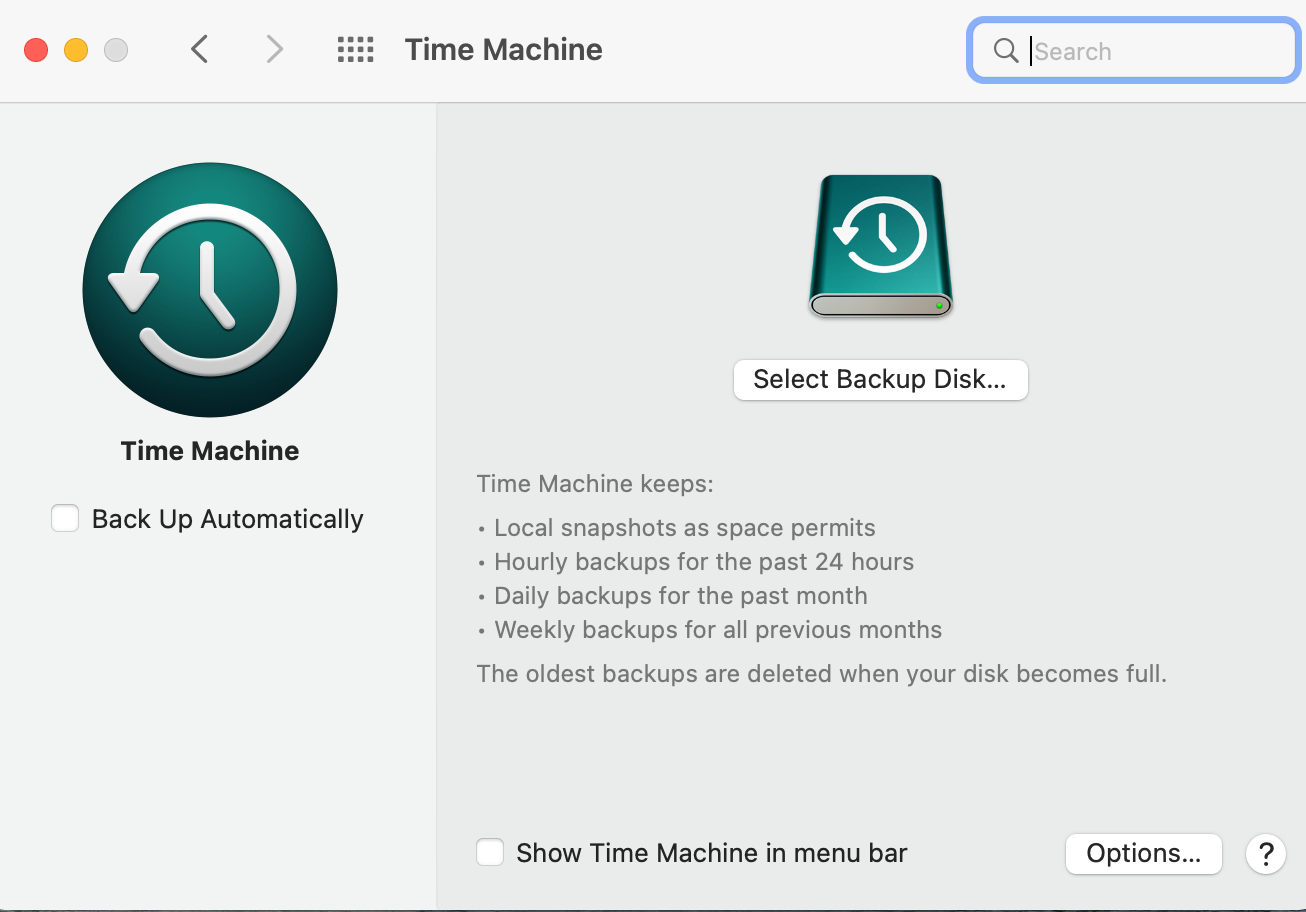
The easiest way to back up your Mac is by using Time Machine. It is a built in application that allows you to back up your apps, accounts, preferences, music, photos, documents, etc. to an external hard drive. Read this article to learn more about how to setup Time Machine backup.
If you use iCloud, your photos, mail, contacts, documents, and so on should be automatically backed up in cloud storage.
2. List of apps
The next thing you want to do is have a list of all the apps you frequently use. Write down the must-have apps (it’s usually around 20–25 apps from our experience). We have a list already of recommended Mac apps that we always refer back to.
3. Collect licenses and serials
A lot of your apps you have bought outside the Mac Appstore have licenses and serials. We highly recommend you take some time and collect all of them, and store them inside 1Password.
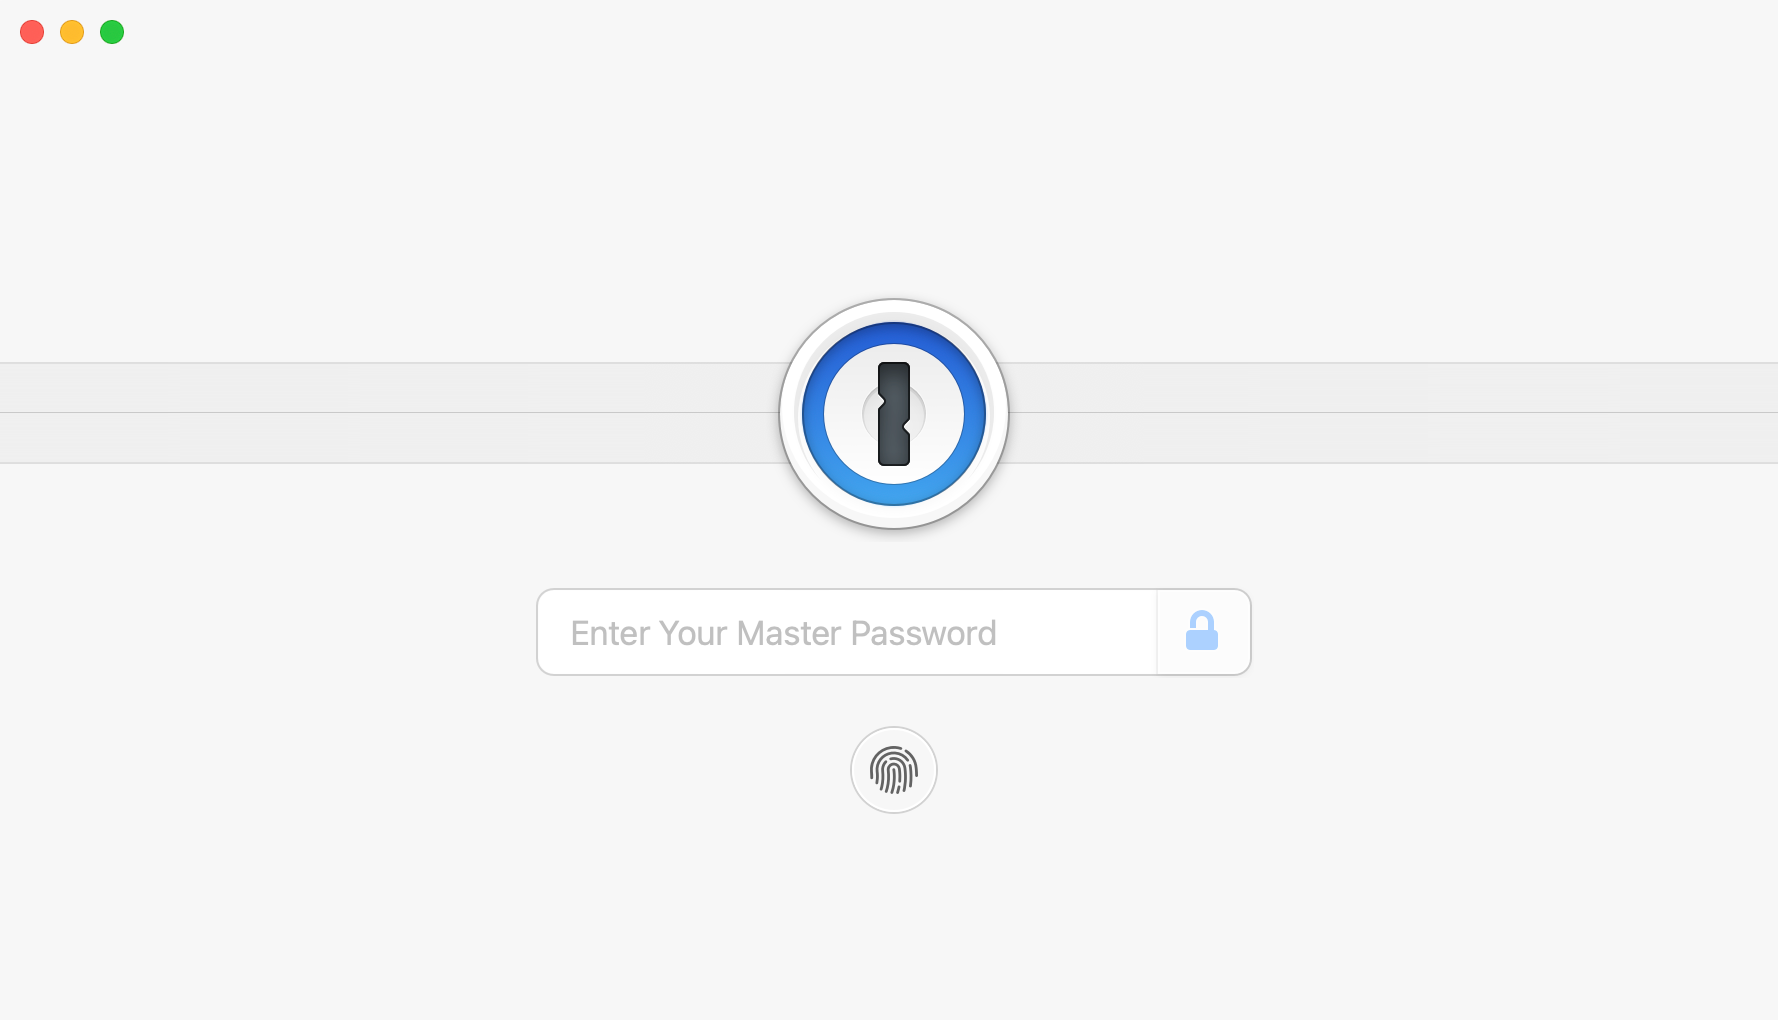
1Password can store your licenses and serials (among many other things).
This will save you a lot of time reinstalling your apps.
If you have purchased apps through the Mac App store, you don’t have to deal with this problem. That’s one of the benefits of buying through the App Store – you don’t have to deal with serials. It’s all tied to your Apple ID.
4. Backup settings
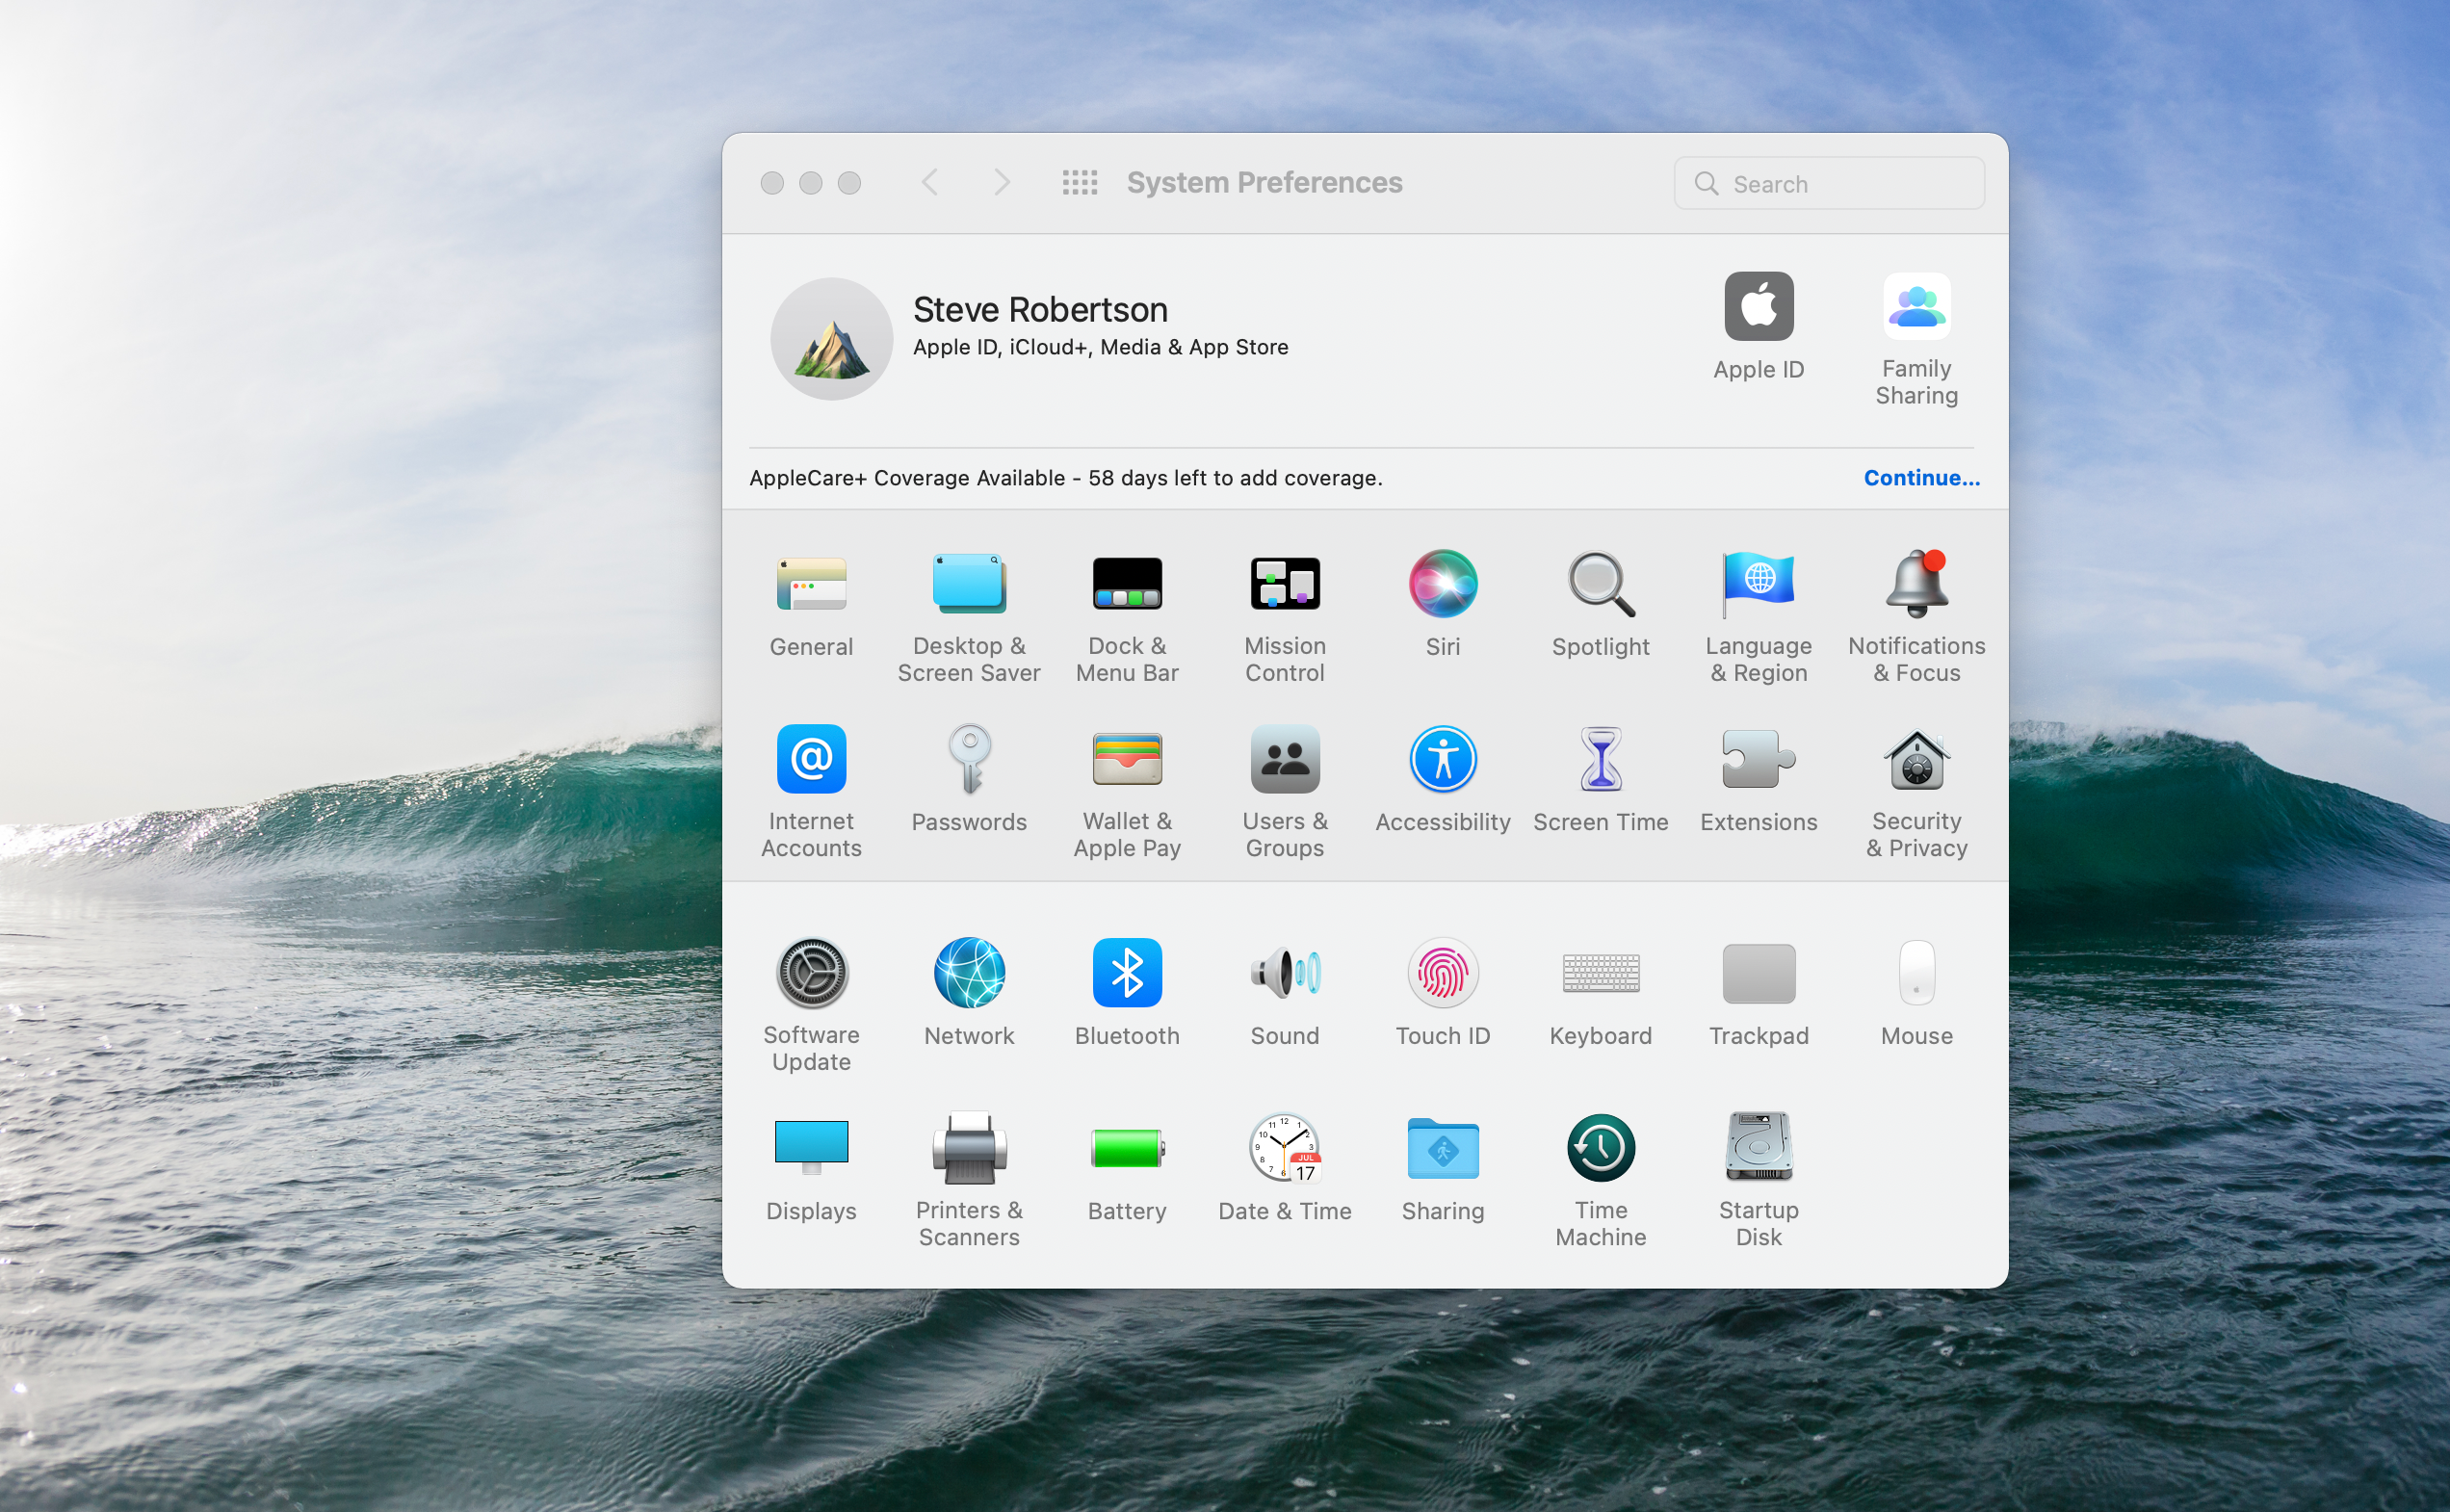
The applications will take up the bulk of your time but it’s the finer details of specific settings you really want to back up. Almost every single must-have app you have has its own fine-tuned settings and you definitely want to save those.
Most apps will allow you to export settings but if one of your apps doesn’t, the easiest solution is to make screenshots of your settings and store those on your external hard drive.
Also, if you have any specific settings in System Settings, it’s worthwhile screenshotting (is that even a word?) those too.
5. List of widgets, snippets and plugins
Another important aspect of your favorite programs are its widgets, snippets and plugins. Make a list of them and back those up on your external hard drive too (put them in the same folder of your app).
Examples:
-
TextExpander snippets (storing via Dropbox is even better)
-
OS X Dashboard widgets
-
Your browser (Safari/FireFox/Chrome) extensions / plugins
-
Fonts
6. Clean Your Mac of Personal Data Before Erasing It
-
Sign out of iTunes
-
Sign out of iCloud
-
Sign out of iMessage
-
Optional: Unpair Bluetooth devices
7. Erase Process
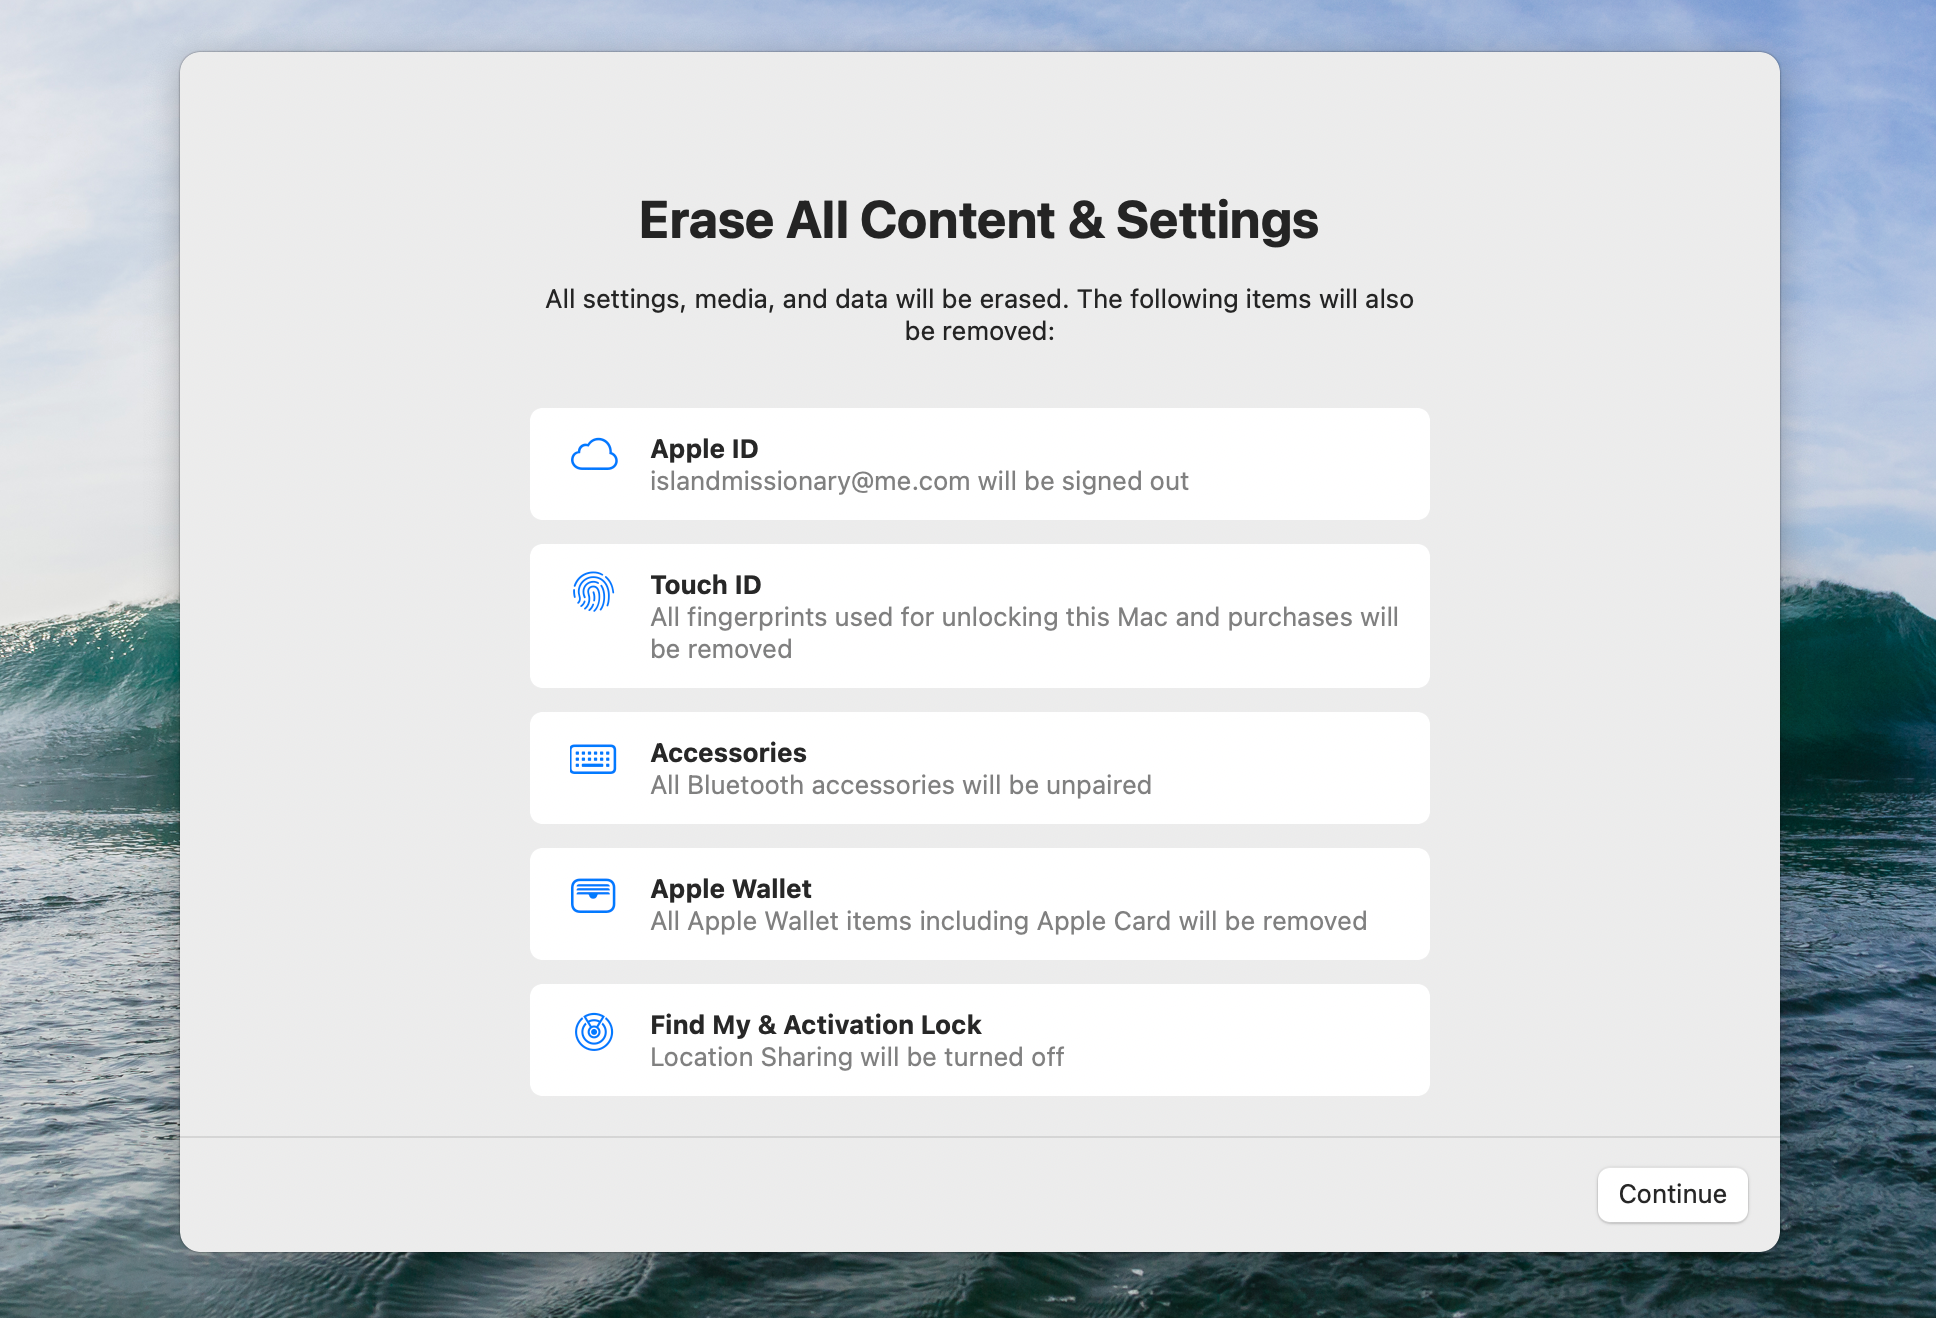
2018 (or newer)
-
Click the Apple icon in the top left corner
-
Click About This Mac
-
Confirm that you are running macOS Monterey (or newer operating system)
-
If not, click on the Software Update button (upgrade to latest OS)
-
Click the Apple logo
-
Select System Preferences
-
Click System Preferences again in the menu bar
-
Click Erase All Content and Settings
-
Enter your Mac’s password to confirm
-
See items that are automatically remove (Ex. Apple ID, Touch ID, Bluetooth accessories, Location sharing)
-
Click Continue and enter your Apple ID
-
Click the red Erase All Content and Settings button
2017 (or previous)
-
Click the Apple icon
-
In the drop down menu, Click Restart
-
Immediately press and hold the Command and R keys until the Apple logo and loading bar appear on the screen
-
Click on Disk Utility to open the Disk Utility window
-
In the sidebar, click on the Macintosh HD option
-
Click on the Erase button
-
Click Erase Volume Group
-
When it is finished, click Disk Utility in the menu bar
-
Click Quit Disk Utility
-
Click on Reinstall macOS
-
Click Continue and follow the steps to reinstall macOS
Quick and Easy
That’s it. You have now successfully reformatted your Mac in the most efficient way possible.
If you want to have a checklist for print, you can download one here in PDF format that we’ve created. If you know someone who is going to reformat the Mac, we would appreciate if you would refer them to this post and/or give that person this checklist.
Next Actions to Erase Your Old Mac and Install a Clean Version of macOS
When it is time to start over with a clean version of your operating system, we recommend that you download the PDF checklist included in this post and follow the step-by-step guide. The PDF guide is your personal “setup assistant”.
There are more Mac tutorials and tips inside The Productivity Academy, our exclusive members-only community that is jam-packed with trainings, courses, masterclasses, podcasts, coaching calls, action plans, and productivity-focused Mac users just like you.

This might be a bit off topic but can’t find anywhere can help answer this question.
I have my iMac is backing up by Time Machine. What should I do if I want to reformat my hard drive. What Time Machine doesn’t backup/restore?
Thanks for the great article. I noticed that it does not mention saving emails, one of my main worries. Do I just need to find and save the email library folder?
Sorry to bother you, but what’s the app you use to make the checklist? the one on the screenshot.
Thanks.
Great Informative post. In ‘Quick Summary’, you mentioned about backing up data before moving ahead. So it is important to backup data, applications, files etc. with the reliable utilities. Because in case of something wrong, we are left only with the backup. There are many reliable utilities like Stellar Drive Clone, CCC for backing up data.
I tried to wipe my macbooks pro and now when I reboot it, it asks me to pick a network and enter password and when I do, it goes grey screen with an apple logo and has error message 2006.
My question is: how can I reinstall OX at this point? I inherrited this Mac from my aunt who just passed away. I didnt have her password or OX disc so I wiped it and was going to buy a disk on EBAY to install.
I am afraid I am going to mess it up further. Help me please!!!!
thank you!!!!!!
Great catch to include the iTunes deauthorization. It’s also a good idea to backup your full library folder, not just the keychains. Numerous programs store data in ~/library/application support. Without that folder, you might miss things like your PDFPen library, Delicious Library database, and various other things you won’t remember until too late. (Not that I’ve ever forgotten those. Nope. Not me. Really. Well, maybe.) No need to restore the whole thing to the new system, just keep the backup so you can find things if you later realize you missed them. Personally, I do the SuperDuper backup but don’t use system restore.
Hi Thanh,
I have a Mac Book Pro 8.1 running ML witch is a bit slow. Therefore I’ve purchased a 480GB OWC Mercury Extreme Pro 6G SSD + 2x 8GB RAM.
In order to install the new SSD, my plan is as follows:
1) Connect the new SSD as an external drive, and format it via the utilities.
2) Install ML on the new SSD from the older HD’s recovery system.
3) Fit the new SSD and RAM into the computer.
4) Download all my data from Time Capsule.
Do you see any problems in doing it this way?
Best rgds Eric
You don’t need to reply. It all works perfect with the new SSD. “Thanks” for “help”
My Macbook Pro has been incredibly slow for some months now. ‘Macbook Pro 5.4’ My battery is pretty well useless, only lasts about 20 minutes. I upgraded to 8gb of ram from 4, but it actually seems SLOWER. I use Photomechanic and Photoshop a lot, but this is ridiculous.
Would a new battery speed things up? (I’m thinking of getting a 3rd party battery) or the reformat?
Thanks.
The best investment you can make is to buy an SSD hard drive to speed it up. The battery would help too.
Nice and useful post!
Only one tip missing, imho, the Dashboard widgets preferences can be found in ~/Library/Preferences/widget-*. In my case this will be life saving, because I do some heavy usage of Dashboard and it would be a pain to configure all the widgets again.
Thank you for this valuable information. Specifically iTune deauthorisation and keychain backup. Most of all, reminding to prepare well and take license key notings.
Appreciate your efforts.
Hi Jordan,
If you just let time machine restore documents I think it’s fine. I would recommend you do a fresh install, install the latest version of all apps and then do a documents restore. That shouldn’t affect your computer’s performance.
Do you think that if I do an erase and install with Mountain Lion on a USB drive, and then restore from a time machine backup, that it’s a bad idea? my whole reasoning behind reformatting is because lately when I shut down or restart my machine, I get to the gray screen where my user list should show up, but it winds up just being a blank screen. It just seems like my iMac isn’t running as smoothly as it should be and I’ve heard a lot of people say that if you do a clean install instead of an upgrade (which I did), that you’ll have a better experience. I’d gladly just restore from time machine instead of sitting here for 10 hours to wait for all my stuff to be backed up on a separate drive…
thanks!
Great article! I surely will follow these guidelines when I replace my harddrive.
I would also like to add that a copy of the harddrive in the form of a diskimage (created with the installer stick/cd) would be nice to have for those files you forget, launchd files etc.
That also gives the possibility to restore everything back to the old status in case something goes completely wrong.
Yeah that’s a good point Anton. Thanks for sharing this.
Wicked guide went trough it and I didnt know the whole thing with the keychain which was awesome, something that I managed to completely overlook and you didnt bring up though was to export my bookmarks from my browser, since I frequent alot of sites that don’t need password so I dont use 1 password for it.. Other then that a great checklist…
-M
Hi Thanh Pham, i have a question for you please, i was trying to turn off Legacy FileVault and i deleted some file to get free space to turn it off then my Mac log out and start the process but suddenly stopped and gave me message that an error occurred during copying”, what does that mean and what shall i do to turn Legacy FileVault off?
Hi Khaled tough call because I’ve never used FileVault before. Best thing is probably to ask the Apple support forums: https://discussions.apple.com/
thanks Thanh for your quick response, i did clean install for ML and i did every thing mentioned here step by step but i have two problems
1. iLife does not exict and i took it back from the external HD, because i took copy before formatting.
2. i returned back all the files which were in picture folder but iphoto does not open
Hmm I would contact Apple support in this case. iLife and iPoto worked fine for me when I did a clean reinstall. Make sure you’re using the newest versions.
In creating the usb disk, you say,
Note: the default install deletes the installer image after installation, so you will need to re-download it from Mac App Store/Purchases if you already deleted it.)
How do Iprevent that so I can create the disk? Do I say CUSTOM INSTALL?
sorry to be a bother.
Mike
Hi Mike,
Once you have ML on your USB as an installer, it’s fine.
What I meant in the article is that when you upgrade within the OS, the installer will remove itself. However, if you have it on a USB stick it won’t do that. I hope that clarifies it.
If you want to re-download ML, you can do that in the Appstore. Just go to your purchases tab and there it is for download.
Mike, if you follow the steps you will indeed get a clean reinstall. To get ML on a USB key, read this:
https://9to5mac.com/2012/07/25/want-to-make-a-mountain-lion-usb-stick-or-sd-card-installer-heres-how/
Thanks!
Hi,
Like John I foolishly upgraded to Mountain Lion, and on one computer all is fine, but on my desktop it’s a nightmare. If I follow this will I get a clean re-install of ML? And exactly what do I put on the usb key to initiate the reinstall?
Thanks,
CM
Thanh,
can you please advise on the following :
I unfortunately downloaded MountainLion a week ago, since that time the MacBook Pro (2009) is very slow, have no sound anymore, the sound slider is hung, in System Preferences as well as in the Menu bar, I always have to force quit which was very seldom when I used Lion, programs are running like in slow motion or get hung, I re-downloaded several times, I re-started several times etc., all what was recommended in the Mac Forum, nothing works, I need my laptop for daily use and am really stuck now. All the experts here in Dubai don’t know what to do, one recommended to re-format, that’s why am looking here, I upgraded to 8GB RAM already, but doesn’t help, do you have an idea what to do? thanks in advance… John
Hey John,
Try the reformat. I had the same issues when I upgraded from SL to Lion (complete with kernel panics and all). After reformatting and doing a clean install (as above, would not recommend Migration Assistant), problems solved. Transitioning from Lion to ML was considerably less painful.
– Aaron
Hi guys, thanks for the checklist.
I have an issue, I’m using MacBook pro since November 2011 (lion, 4 gb RAM). And it works VERY slowly. Did I understand you correctly that reinstalling system will solve my problem?
I have had an idea to upgrade RAM to 16gb. Do you have this kind of experience? Please share)))
Hi Dmitry,
More RAM is always better. I have 8GB RAM myself which is plenty for most of my stuff. If you want a faster Mac, I recommend you get a SSD hard drive. SSD + 8GB RAM is the way to go.
Reformatting will help in the short-term but I think it’s because of the 4GB RAM that things are running slow. You’re all the time on swap memory which is hard drive based and thus slow. Just upgrading to 8GB will solve most problems. Getting an SSD on top will make your thing fly. Reformatting on top will make it go to outer space ;-)
Important step missing. If you Have upgraded to lion, then burn a copy instead of installing snow leopard and then upgrade.
Could you make the checklist available as an .opml file too?
Far more efficient than having to type it into an outliner app.
Thanks.
Yes, of course. Here you go:
https://www.asianefficiency.com/downloads/ae-checklist-mac-reformat.opml
I think I’ll call this site “Asian Inefficiency” for this post. What a lot of extra work.
Here’s what you should do:
1) Copy your entire drive to something external using SuperDuper! or Carbon Copy Cloner
2) Boot off the external drive to verify all is OK
3) Boot from installer DVD or recovery partition, nuke and pave and re-install the OS
4) Once OS is installed and you boot to it, follow the instructions on Migration Assistant once it comes up. All the work above will be done for you.
That’s it!
Haha thanks for the suggestions John! I didn’t this was possible but it seems like a fast way to do this as well. Thanks for sharing – I will give this a try sometime too! If anyone else is reading, they should give this a shot.
Been there, done that. I don’t trust Migration Assistant.
Call me old-fashioned, but nothing beats a clean setup and reinstall.
Migration Assistant never works properly (for me at least). Plus a nuke and pave is an opportunity to just reinstall what I really need, not everything I have ever installed.
I install a core of apps that are essential and then add other stuff as and when I find I need it.
With the Mac App Store this is now getting even easier.
Wow, this is a nice one. I am relatively new to mac. I reformated my windows-pc every 6 months or so. With my Macbook i’m still looking on how to do this efficiently. I was in the process of making a checklist for my mac, and you just took a lot of work off my hands.
Thanks!
I’m glad this post came out on time for you!